


This year, I decided to go a little rustic with our holiday decor and make dried orange garlands. Orange garlands are a great way to spread holiday cheer while taking advantage of materials you likely already have on hand. They are incredibly easy to make, though drying the fruit in the oven does take time. It’s the perfect craft for a weekend project where you can watch a movie or do other activities while you wait for the oranges to dry.
A DIY dried orange garland is a festive way to bring a little nature into the indoors. Use them to decorate the stair banister, wall shelf, windows, or wrap around the Christmas tree. You can get as creative as you want with this craft. Try adding cranberries, popcorn, cinnamon sticks, and bay leaves to the garland for a little variety. You can also use left over dried oranges to make tree ornaments or present toppers to make your gifts look extra fancy. I chose to dry out the weird end slices of the oranges as well to add to potpourri.

To make your DIY dried orange garland, you will need:
- Oranges (you can also use tangerines/clementines for the same affect)
- Sharp knife or mandoline
- Paper towels
- Baking sheet
- Parchment piper
- Cooling rack
- Twine
- Yarn needle (I didn’t have one so I used a bobby pin instead)


Directions:
- Thinly slice your oranges (~1/4” thick) with sharp knife or mandolin
- Squeeze orange slices between paper towels to press out excess juice
- Arrange slices in a single layer on baking sheet lined with parchment paper
- Place in oven at 225 degrees (F) for about 3-4 hours, flipping to the other side every hour or so
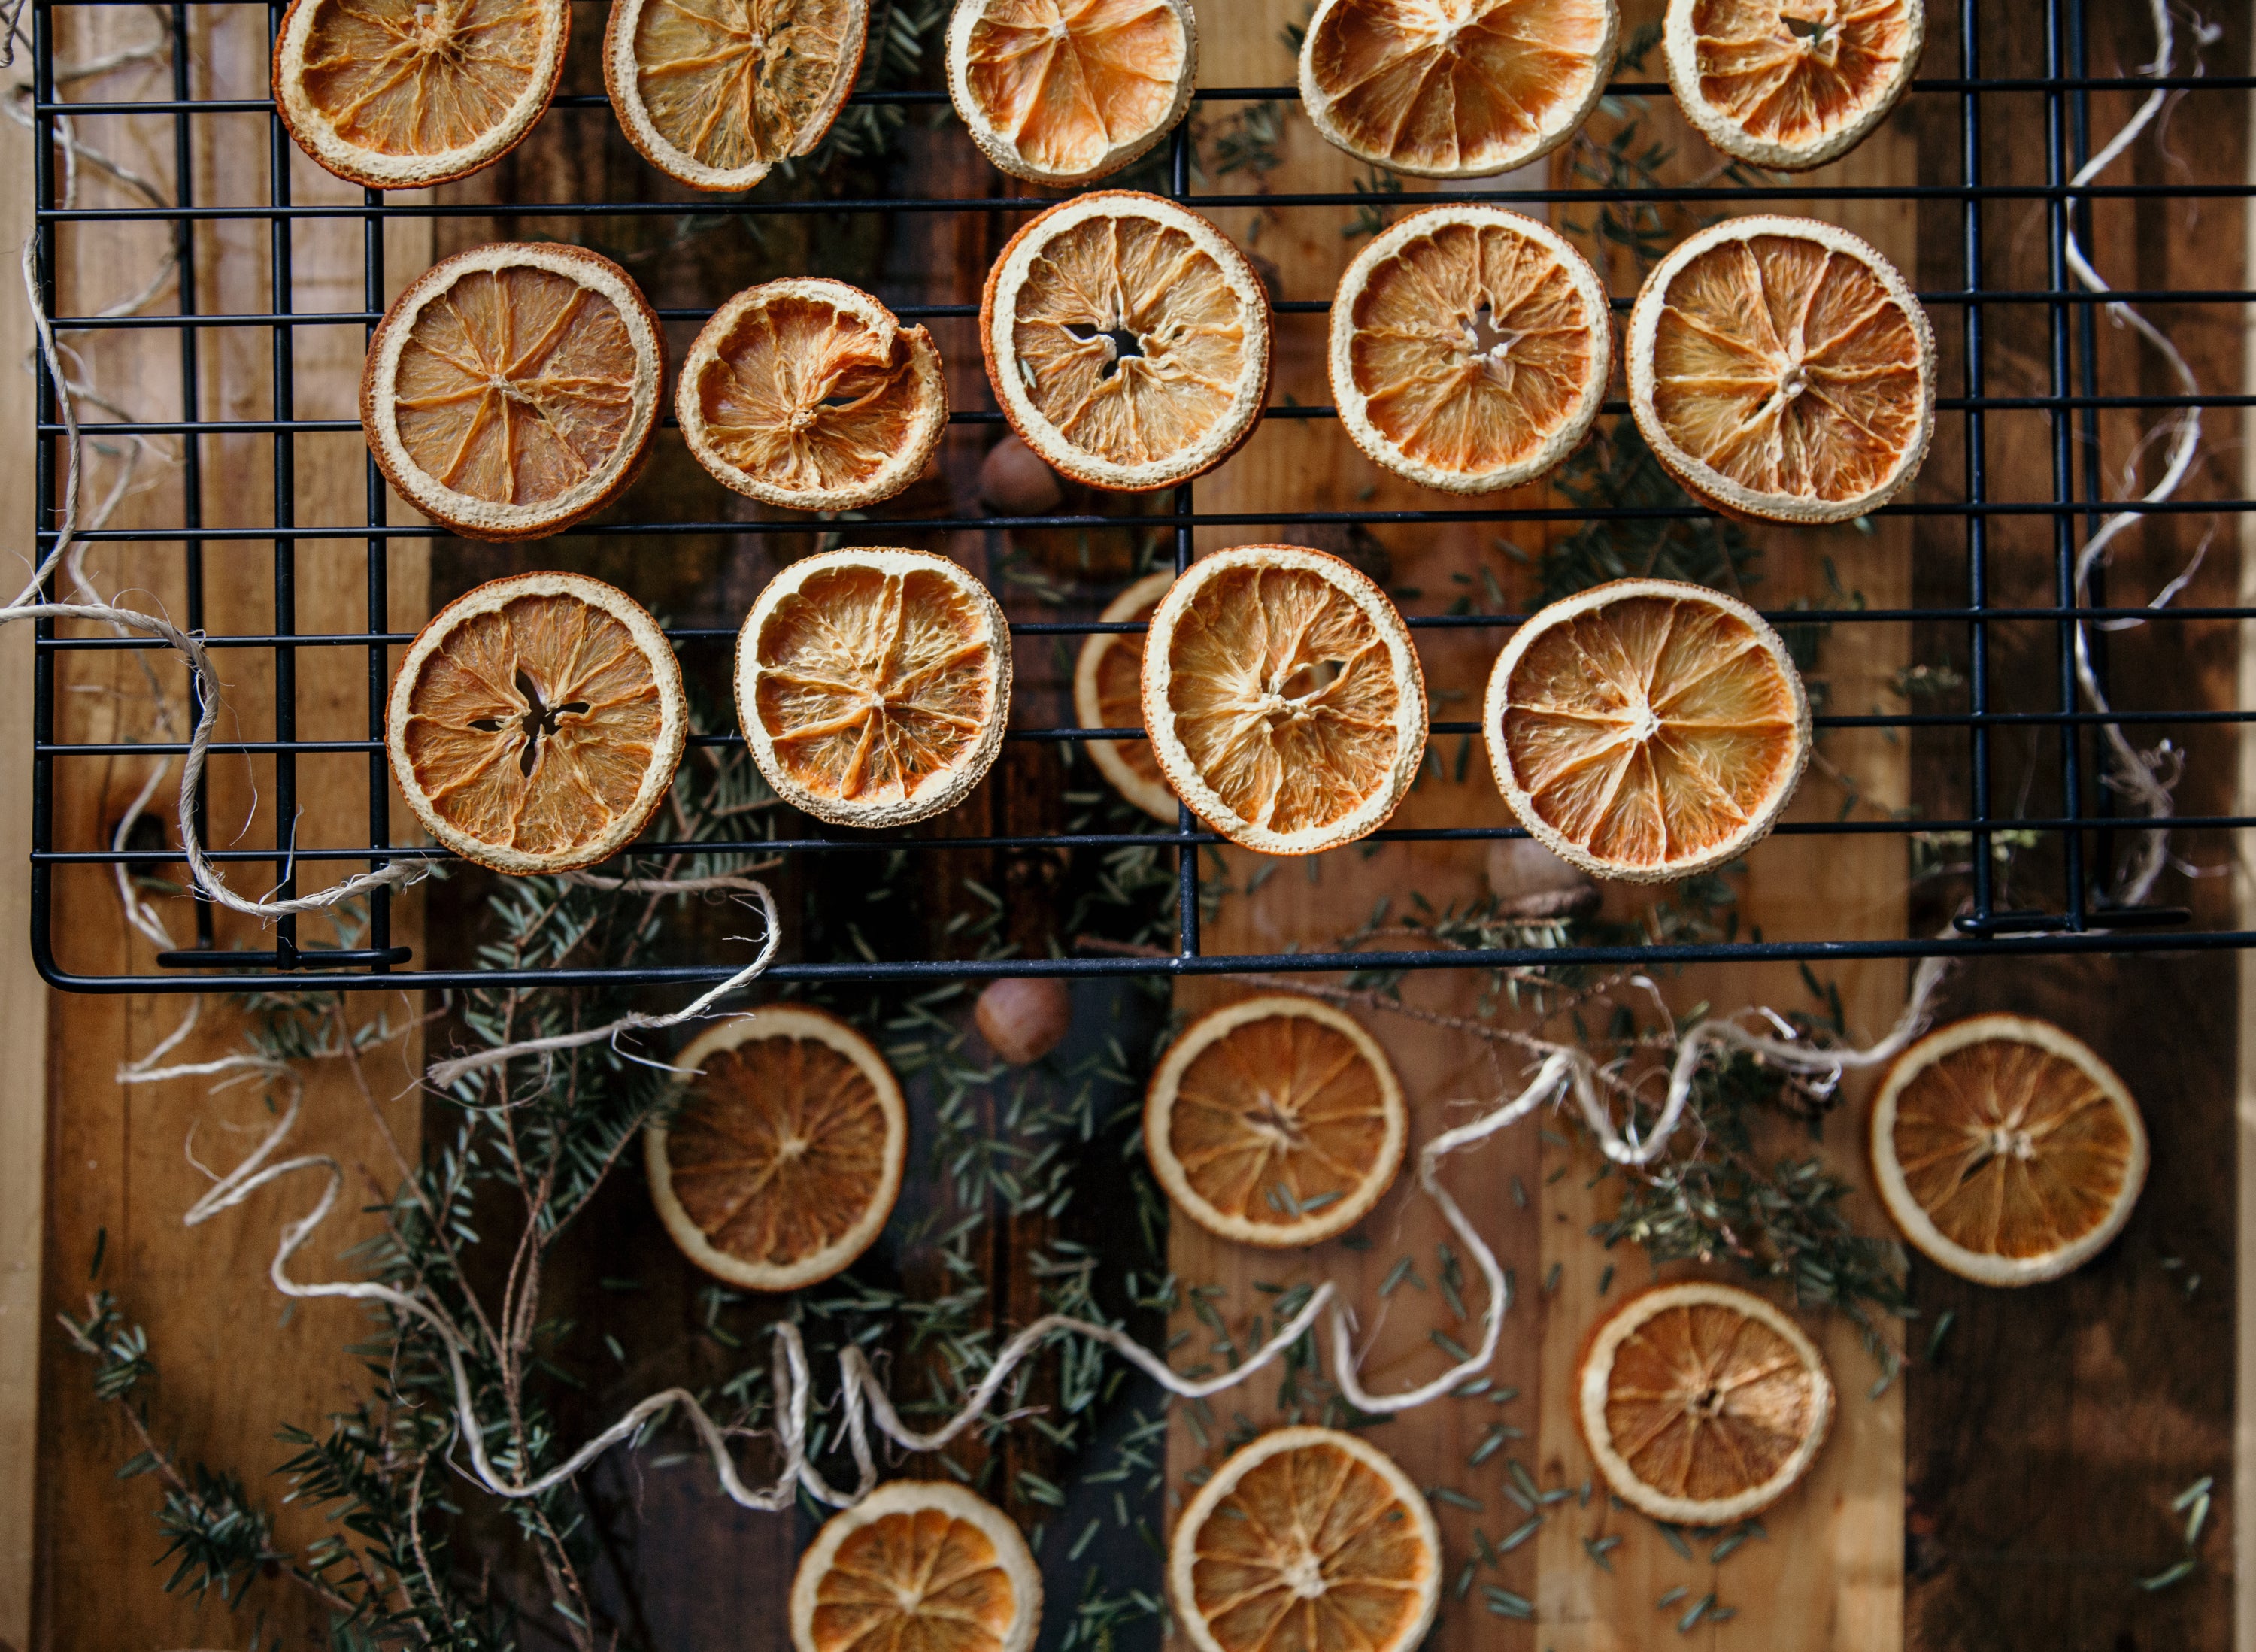
- Place on wire rack and allow to continue drying out for the next day
- Once oranges have completely dried, assemble the garland by threading the twine through each orange.


Happy DIYing!