


Sourdough is hands down my favorite kind of bread. It has such a unique and delicious flavor, unlike that of any other bread. So naturally, I wanted to learn how to make it myself, but you can’t make sourdough bread without a sourdough starter. There are a few different ways to get your hands on a starter; borrow some from a friend, purchase online, or make your own. I didn't know anyone that had a starter going, and I was hesitant to purchase something that I could potentially make myself so I decided to look into making my own starter. Luckily, it’s ridiculously simple to make your own. I've included everything you need to know in this sourdough starter guide.
It only takes 2 ingredients to make a sourdough starter; flour and water. From these two ingredients, you will cultivate a blend of bacteria and yeast that gives your bread that signature tangy sourdough flavor in just 7 days. I’ve had my starter (her name is Reya) going for 5 months now, and have made several loaves of amazing sourdough bread with her. I've made a few adjustments to temperature, the ratio of flours I use, and the feeding schedule to make for a reliable starter that for the most part, stays on schedule. The longer you have your starter for, the more you will get the feel for what it needs based on its behavior. Don't get too hung up on getting everything exactly right…sourdough starter is incredibly forgiving. Have fun with the process and don’t forget to name your starter, it is a living organism after all! The following guide will provide you with everything you need to create your starter and get it bread-ready over the next week!
Note: You can use any type of flour you want to create your starter- All purpose flour, whole wheat flour, rye flour, rice flour, bread flour- or any combination of these. I personally prefer using a Rye/A.P. flour combo because it gives a slightly sweet, robust flavor to my bread.
Here is everything you’ll need:
- Rye Flour
- All Purpose Flour
- Filtered Water
- Silicone Spatula
- Glass Container (I like to use either a mason jar or a Weck jar)
- Kitchen Scale
- Thermometer
Creating your sourdough starter:
First, make sure that you weigh your empty jar and write this number down. This is going to be helpful in the future when you need to determine how much starter you have left in your jar, you will be able to simply subtract the weight of the jar from the total weight. Also, be sure to write down the date and time that you are creating your starter for future reference.
Day 1
Combine the following in a glass jar.
- 50g Rye Flour
- 50g A.P. Flour
- 100g warm filtered water (80°F-85°F)
Mix with your spatula until everything is incorporated and there is no dry flour remaining. Place a cover on your jar, this should not be air tight as the starter needs to exhale fermentation gasses. I just place the lid on my mason jar, but do not screw it down. You can also place a dish towel or cheese cloth over the top of your jar and hold in place with a rubber band. Let your starter sit out room temperature for 24 hours. Congratulations, day 1 is officially complete.
Days 2-5
You will now discard a portion of your starter, leaving 70g of starter remaining in your jar.
To your 70g of remaining starter add:
- 50g Rye Flour
- 50g A.P. Flour
- 100g warm filtered water (80°F-85°F)
Mix with your spatula until there are no dry flour clumps remaining. Let sit out room temperature for 24 hours. You will repeat this same feeding schedule for days 3-5.
Day 6 and beyond
You will now discard a portion of your starter, leaving 50g of starter remaining in your jar.
To your 50g of remaining starter add:
- 50g Rye Flour
- 50g A.P. Flour
- 100g warm filtered water (80°F-85°F)
Mix with your spatula until there are no dry flour clumps remaining. Let sit out room temperature for 24 hours. This will be your routine daily feeding schedule for your starter from here on out!
So what now?
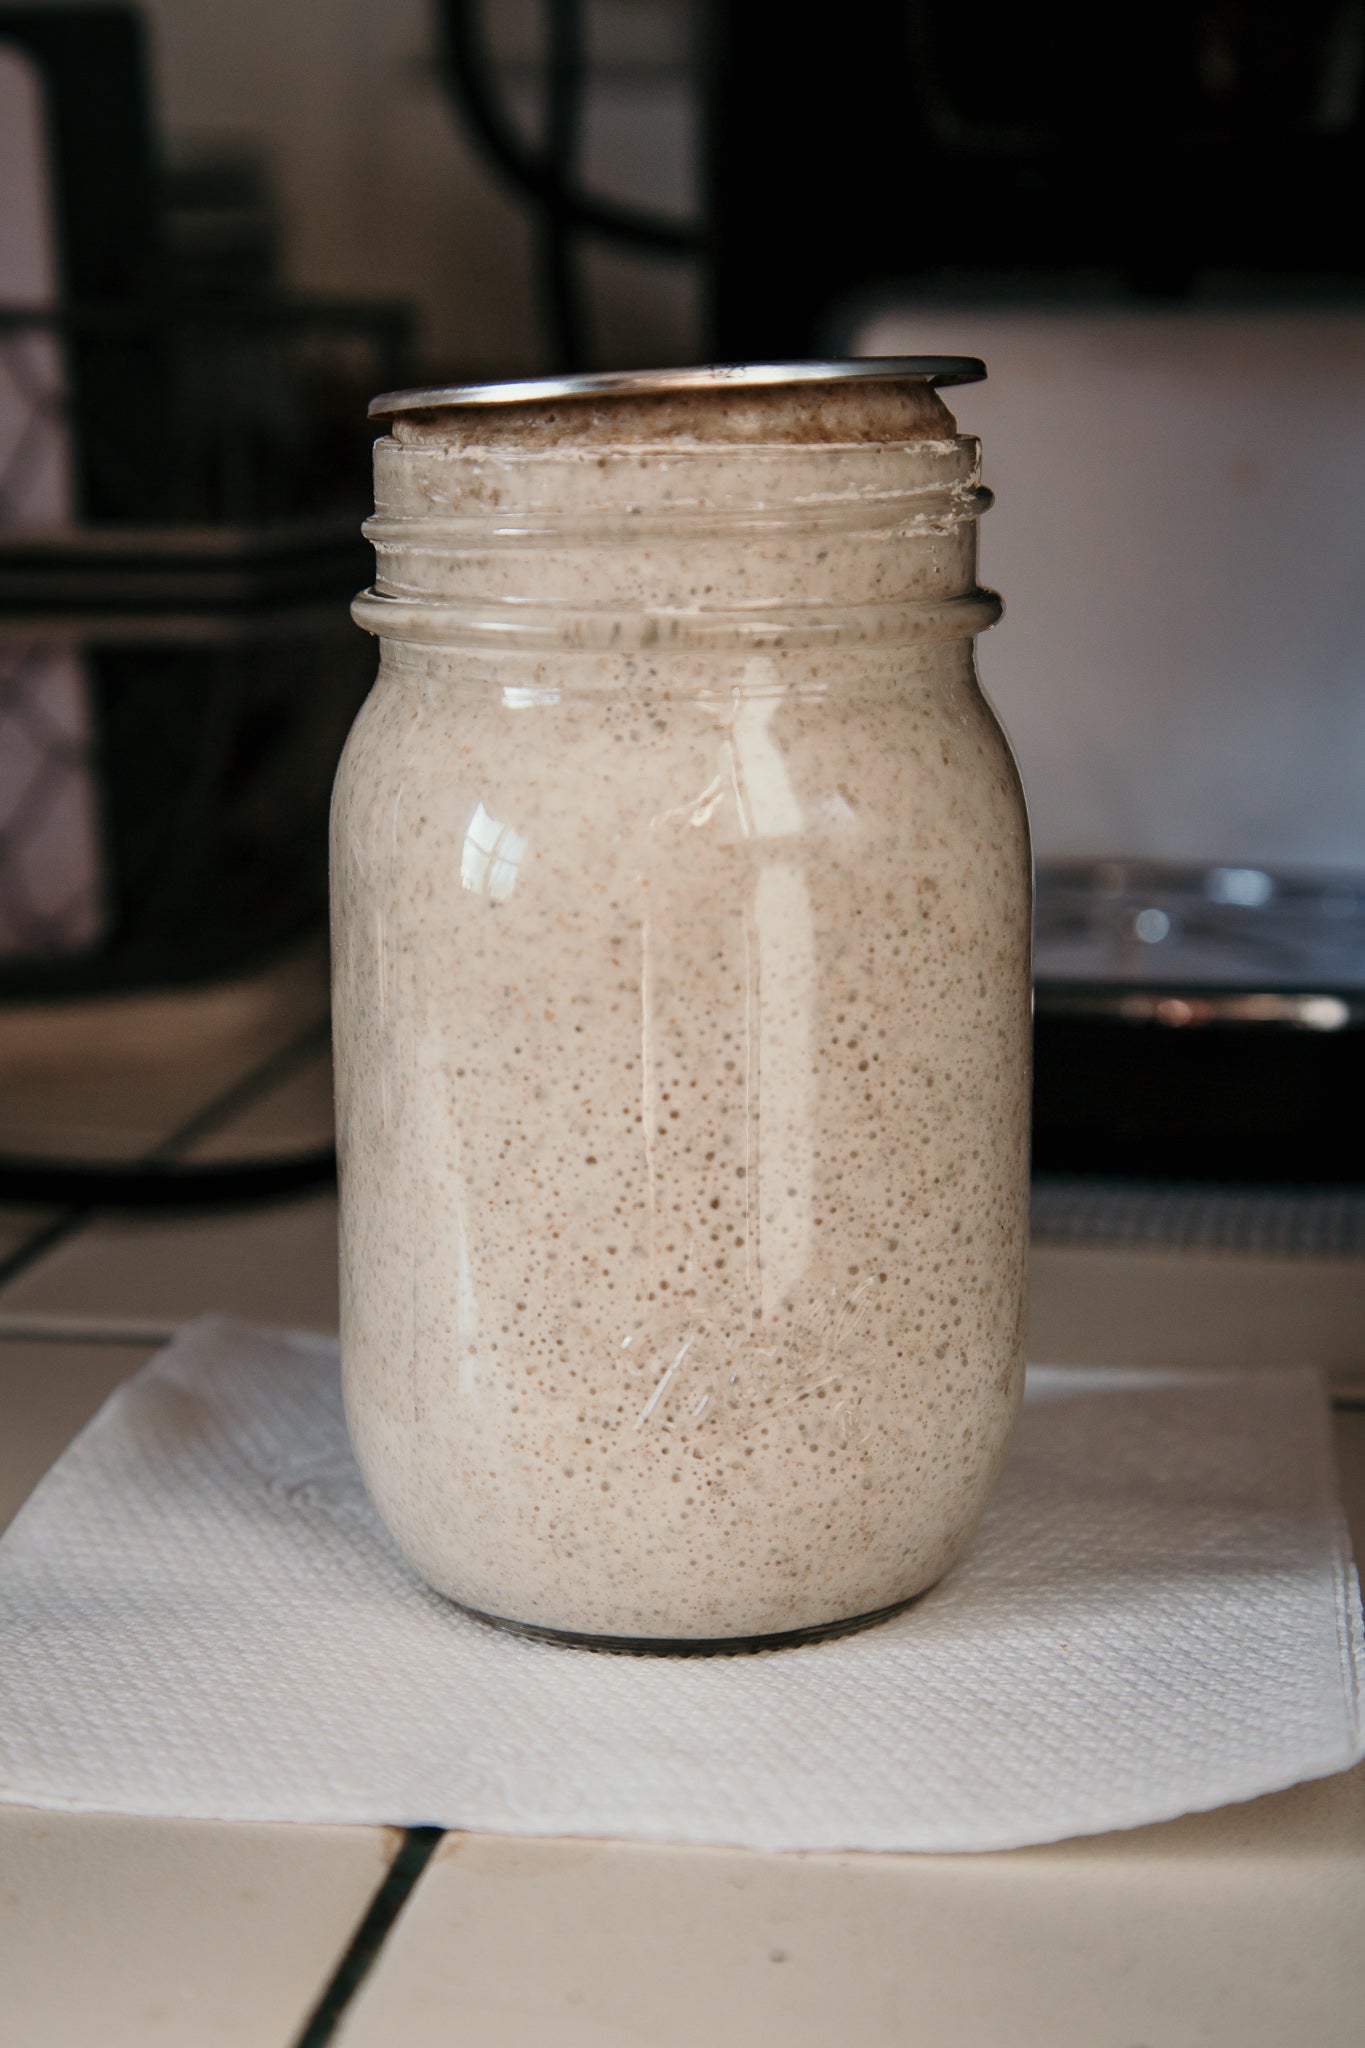
You have made it to maintenance mode. Now you have a mature starter that is ready to use in levain for bread or any other sourdough recipe you wish to create! You should notice your starter rising and falling pretty regularly as you continue with your daily feeding routine. It should have a sour smell and you should be able to see a fair amount of bubbling and activity, this indicates a healthy starter. Temperature plays a big role in the fermentation process. I keep my starter in a fairly cool kitchen, so feeding once per day works for me. If you’re storing your starter in a place that is relatively warm, this will speed up the fermentation process and your starter may require feedings every 8-12 hours instead. Pay attention to your starter, after you feed it, it should rise and then fall, that is when you’ll want to feed it again. If it is left for too long after falling, it can become too acidic. If this happens to you, don't worry about it! Just feed your starter as usual and get back on a more frequent feeding schedule.
FAQ
What if I don’t want to feed my starter every single day?
I fully understand that feeding your starter daily requires considerable time and money commitments. If you’re going out of town, not planning on using your starter for a while, or want to feed it less often, you can stick it in the refrigerator. After feeding, let it sit out at room temperature for a couple of hours to get the process started before refrigerating. The cold temperature will drastically slow down the fermentation process but you will still need to take your starter out and feed it at least once per week.
Is there anything I can do with the starter that I need to discard?
You can use your starter for all kinds of recipes, not just bread. You can add to pancake or waffle batter, cookie dough, pizza crust, cake batter, you name it. If I don’t want to use my excess starter for baking, I just add it to the compost.
My starter was really active at first but now it isn’t doing anything. What happened?
If you were seeing lot’s of activity at first but this has suddenly stopped, don’t panic. This is normal for the first few days of a starter. There is typically a big burst of activity and bubbles right away, but it levels off over the next couple of days. Keep feeding your starter as usual and you should see an increase in activity as time goes on.
How do I know if my sourdough starter is ready to use?
Overtime, you’ll know if your starter is ready to use by the way it looks and smells. But until then, there’s the float test. Gently take a spoonful of your starter and place in a glass of water. If your starter floats, that means there is plenty of carbon dioxide, which is a byproduct of the yeast fermentation process, in your starter indicating a well fed, mature starter that is ready for use.