

I’ve always been a fan of indoor seed starting. Aside from adding a little greenery to your house during the cold grey winter, there are several benefits to starting your seeds indoors. It’s cheaper than purchasing plants and allows for a little more variety since seed selection is more diverse than available plants. Starting your seeds indoors can also give them a head start, leading to greater yields and earlier harvests. This beginner's guide to seed starting will point you in the right direction if this is your first time giving it a try.
Are you interested in seed starting but not sure where to begin? Here is my step by step process to get you going on your seed starting project as well as common mistakes (all of which I have made) to avoid.
First things first, always be sure to check the seed package for detailed instructions on planting and to make sure it’s a plant that should be started indoors (I learned the hard way that not all should).
Here is what you’ll need:
-
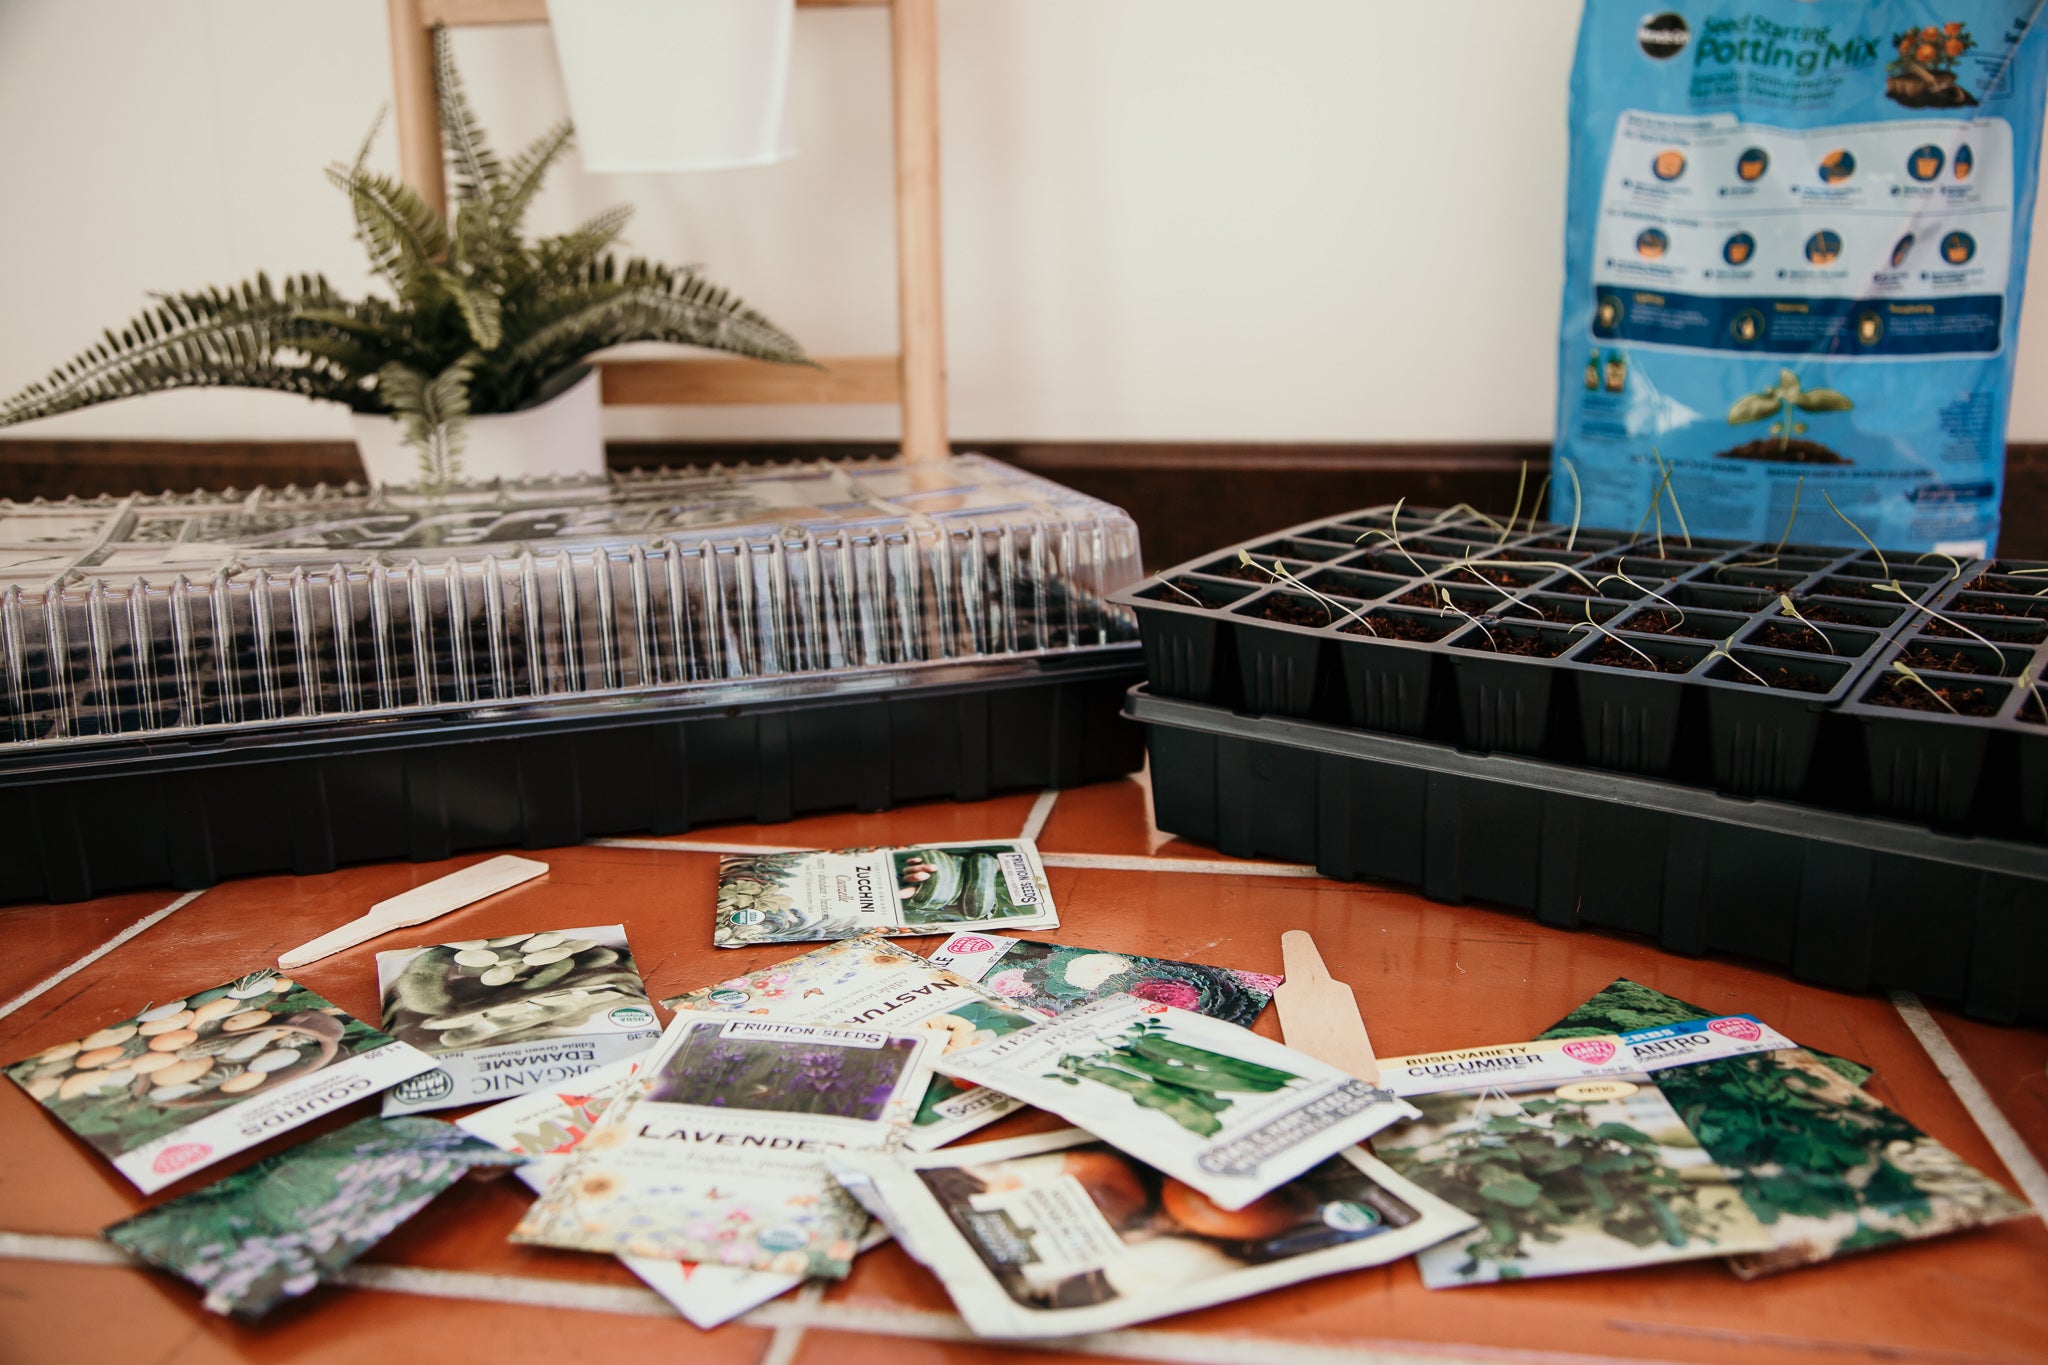
Seed Starting Tray
- You can start seeds in just about any container with adequate drainage, but if you’re a beginner I strongly recommend using plastic seed starting trays. They are easier to work with and far more convenient. If you are reusing trays from last year, make sure that you clean them thoroughly and disinfect first to prevent fungi and diseases from infecting your seedlings.
-
Seed Starting Soil or Peat Pellets
- Good quality seed starting soil will enhance seed germination. You can also use peat pellets which are small discs of compressed soil which make the whole process a little more convenient.
-
Heat Mat (optional)
- Different seeds require different temperatures for germination. After losing some seedling due to inadequate temperature, I used this heat mat this year and it produced great results.
-
Grow Light (optional)
- A grow light can be useful if you are growing your seeds in a darker garage or basement with low light conditions. It can also help speed up the germination process.

Step 1: Select your seeds
Consider your goals for your garden. Some important things to take into account when planning your garden are available space, how much time you're able to dedicate, what grows best in your area, and what you and your family actually enjoy eating.
Step 2: Determine when to start your seeds
This will be listed on your seed package, it’s typically 6-8 weeks before the last frost.
Step 3: Prepare your trays
If using peat pellets, place 1 pellet in each cell and add water. If using seed starting soil, moisten it in a bucket with just enough warm water to give it a crumbly texture. The soil should not sopping wet. Fill the cells with even amounts of soil and gently pack.
Step 4: Plant your seeds
Check your seed packet for instructions on how deep to plant your seeds. In most cases, you can plant 2 seeds per cell.
*Don’t forget to label your plants! I like to make a chart guide but you can also put labels directly into the cells.
Cover the trays with the plastic dome cover or plastic wrap. This will help your seeds germinate.
Step 5: Remove Cover
Once the seeds sprout, remove the plastic cover. Make sure that the soil stays moist, being careful not to overwater.
Step 6: Fertilize
After the first true leaves appear (a few weeks after germination), use a liquid fertilizer to supply your plants with nutrients to help them continue to grow.
Step 7: Thinning Out
At this point, if you have multiple plants growing in each cell, you can thin out your seedlings. This means cutting the smaller of the plants off at ground level. This allows the stronger plant to continue to grow without being crowded. Make sure you are snipping the plant with scissors, not pulling out from the roots, this can damage the roots of the plant you are helping to grow. I know this step feels kind of cruel and it’s tough to sacrifice one of your baby seedlings but if you don’t thin them out, there is a higher chance that neither one will make it.
Step 8: Hardening Off
Now that you have some happy and healthy seedlings, it’s time to start gradually hardening them off. This means providing them with gradual, controlled exposure to the outdoors which helps them get accustomed to being outside. This prevents them from experiencing shock when you plant them out. Start by placing seedlings outdoors in a protected location (out of wind and direct sunlight) for 1 hour per day for about a week.
Step 9: Planting Out
Now your seedlings are ready to be planted out into your garden outdoors! Be extra gentle when handling your seedlings as they are still very fragile at this point. Make sure you firm the soil around your plants and water well to help the roots establish themselves. You did it! Yay!
Now you get to watch your new crops flourish and enjoy the harvest.
Maybe you’ve tried indoor seed starting before but you haven’t seen the results you were hoping for. Maybe you followed the above steps perfectly but it still didn’t work out. Whether this is your first attempt at seed starting, or you’ve tried in the past but just can’t figure out what went wrong, the following list of common seed starting mistakes will be useful. There’s no shame in messing up and I’m guilty of every single one of these. If you follow the steps, watch out for these mistakes, and trust the process, I’m confident that you will have some really good looking plants ready for spring.

Beginner's guide to seed starting; Common Mistakes:
If you’re struggling with poor germination, leggy plants, damping off, or seedlings that just aren’t growing, it could be caused by one or more of the following common seed starting mistakes.
-Overwatering
Too much water can cause germination problems, stunted growth, and dampening off (when everything seems to be going right and then all of a sudden your plants die). Water seedlings only when the soil is beginning to dry out. Aim to keep the soil moist, not soaked.
-Insufficient Light
Seedlings need at least 12 hours of light every day. This can be difficult to provide if you are starting seeds in a dark room, which is why a grow light can be a great option. You can set it on a timer to make sure that your seeds are getting the perfect amount of light every day without having to think about it.
-Using old seeds
Germination rate decreases with the age of the seeds you use. For best results, use fresh seeds. Also keep in mind that improper storage of the seeds can reduce shelf life, so if you bought seeds this year that you’re planning on using next year, make sure to store them in a cool, dry place.
-Incorrect temperature
I’ve heard this time and time again: different seeds have different needs. Take the time to look up the ideal germination temperature for your specific seeds. If you are trying to start warm weather crops in a cold basement or garage, or if you just live in an old drafty house like me, consider using a heat mat. This will provide your seeds with ideal bottom heat and prevent leggy plants.